Get Started with TideCloak
Visit SiteBased on the provided instructions, I will guide you through setting up a basic React Single-Page Application (SPA) with TideCloak for Identity and Access Management.
Step 1: Set up your development environment
- Install Node.js (if not already installed) from nodejs.org.
- Create a new directory for your project.
- Navigate to the project directory in your terminal or command prompt.
- Initialize a new npm project by running
npm init.
Step 2: Install dependencies
- Install the required dependencies by running
npm install react-scripts react-dom keycloak-js. - Verify that all dependencies are installed correctly.
Step 3: Create the main file (index.js)
- Inside the project directory, create a new file called
index.js. - Add the following code to
index.js:
import React from 'react';
import ReactDOM from 'react-dom';
import App from './App';
import * as serviceWorker from './serviceWorker';

ReactDOM.render(
  <React.StrictMode>
    <App />
  </React.StrictMode>,
  document.getElementById('root')
);

// If you want your app to work offline and load faster, you can change
// unregister() to register() below. Note this comes with some pitfalls.
// Learn more about service workers: https://bit.ly/CRA-PWA
serviceWorker.unregister();
Step 4: Create the App component (App.js)
- Inside the project directory, create a new file called
App.js. - Add the following code to
App.js:
import React from 'react';

function App() {
  return (
    <div>
      <h1>Hello!</h1>
    </div>
  );
}

export default App;
Step 5: Create a new file for TideCloak configuration (TideConfig.js)
- Inside the project directory, create a new file called
TideConfig.js. - Add the following code to
TideConfig.js:
import * as Keycloak from 'keycloak-js';

const config = {
  url: 'http://localhost:3000', // URL of your application
  realm: 'myRealm',
  clientId: 'myClientId',
};

const keycloak = new Keycloak(config);
Step 6: Update the index.js file to use TideCloak
- Open
index.jsand update it to include the TideCloak configuration:
import React from 'react';
import ReactDOM from 'react-dom';
import App from './App';
import * as serviceWorker from './serviceWorker';

ReactDOM.render(
  <React.StrictMode>
    <App />
  </React.StrictMode>,
  document.getElementById('root')
);

// If you want your app to work offline and load faster, you can change
// unregister() to register() below. Note this comes with some pitfalls.
// Learn more about service workers: https://bit.ly/CRA-PWA

const keycloak = require('./TideConfig');

serviceWorker.unregister();
Step 7: Run the application
- To start the development server, run
npm start. - Open your browser and navigate to http://localhost:3000.
You should see a "Hello!" message on your screen. Clicking on it won't do anything yet because we haven't connected our user authentication.
Let's fix this by creating a simple login form using the Keycloak library:
Step 8: Update App.js to include the login form
- Inside
App.js, add the following code to render the login form:
import React from 'react';
import Keycloak from './TideConfig';

function App() {
  const [username, setUsername] = React.useState('');
  const [password, setPassword] = React.useState('');

  const handleLogin = (e) => {
    e.preventDefault();
    keycloak.login({
      username,
      password,
      realm: 'myRealm',
    });
  };

  return (
    <div>
      <h1>Hello!</h1>
      <form onSubmit={handleLogin}>
        <label>Username:</label>
        <input type="text" value={username} onChange={(e) => setUsername(e.target.value)} />
        <br />
        <label>Password:</label>
        <input type="password" value={password} onChange={(e) => setPassword(e.target.value)} />
        <br />
        <button type="submit">Login</button>
      </form>
    </div>
  );
}

export default App;
Step 9: Update TideConfig.js to set the callback function
- Inside
TideConfig.js, add the following code:
import * as Keycloak from 'keycloak-js';

const config = {
  url: 'http://localhost:3000', // URL of your application
  realm: 'myRealm',
  clientId: 'myClientId',
};

const keycloak = new Keycloak(config);

keycloak.onAuthSuccess = () => {
  console.log('Logged in successfully!');
};
Now, let's run the application again:
- Run
npm start. - Open your browser and navigate to http://localhost:3000.
You should see a login form on your screen. Enter your username and password (assuming you have an account), and click the "Login" button.
If everything is set up correctly, the application will log in successfully when you submit the form.
Please note that this is just a basic example to get you started with using Keycloak for authentication purposes. In a real-world application, you would want to add additional error handling, security measures, and error checking code to ensure the integrity of your users' data.
Related Tools

Dynamic Pydantic
Generate dynamic models with Dynamic Pydantic, Python's runtime model creation and validation library.

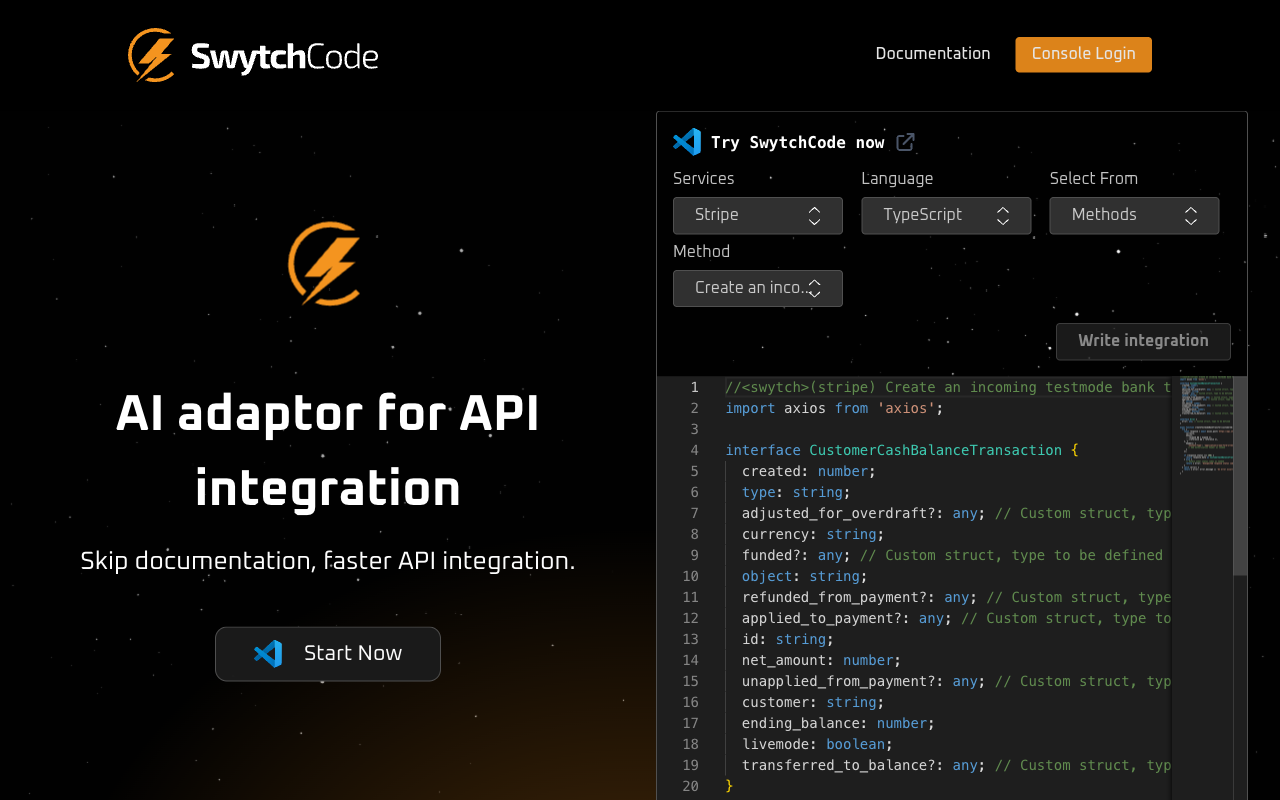
Simplify Integration, Accelerate Development
AI powered developer tool that helps engineers save time by integrating libraries, SDKs and APIs

PlugAI - Simplify AI Integration with One Unified API.
Effortlessly integrate multiple AI models like OpenAI, Claude and Gemini into your app with a single API. Manage prompts via a user-friendly dashboar,...